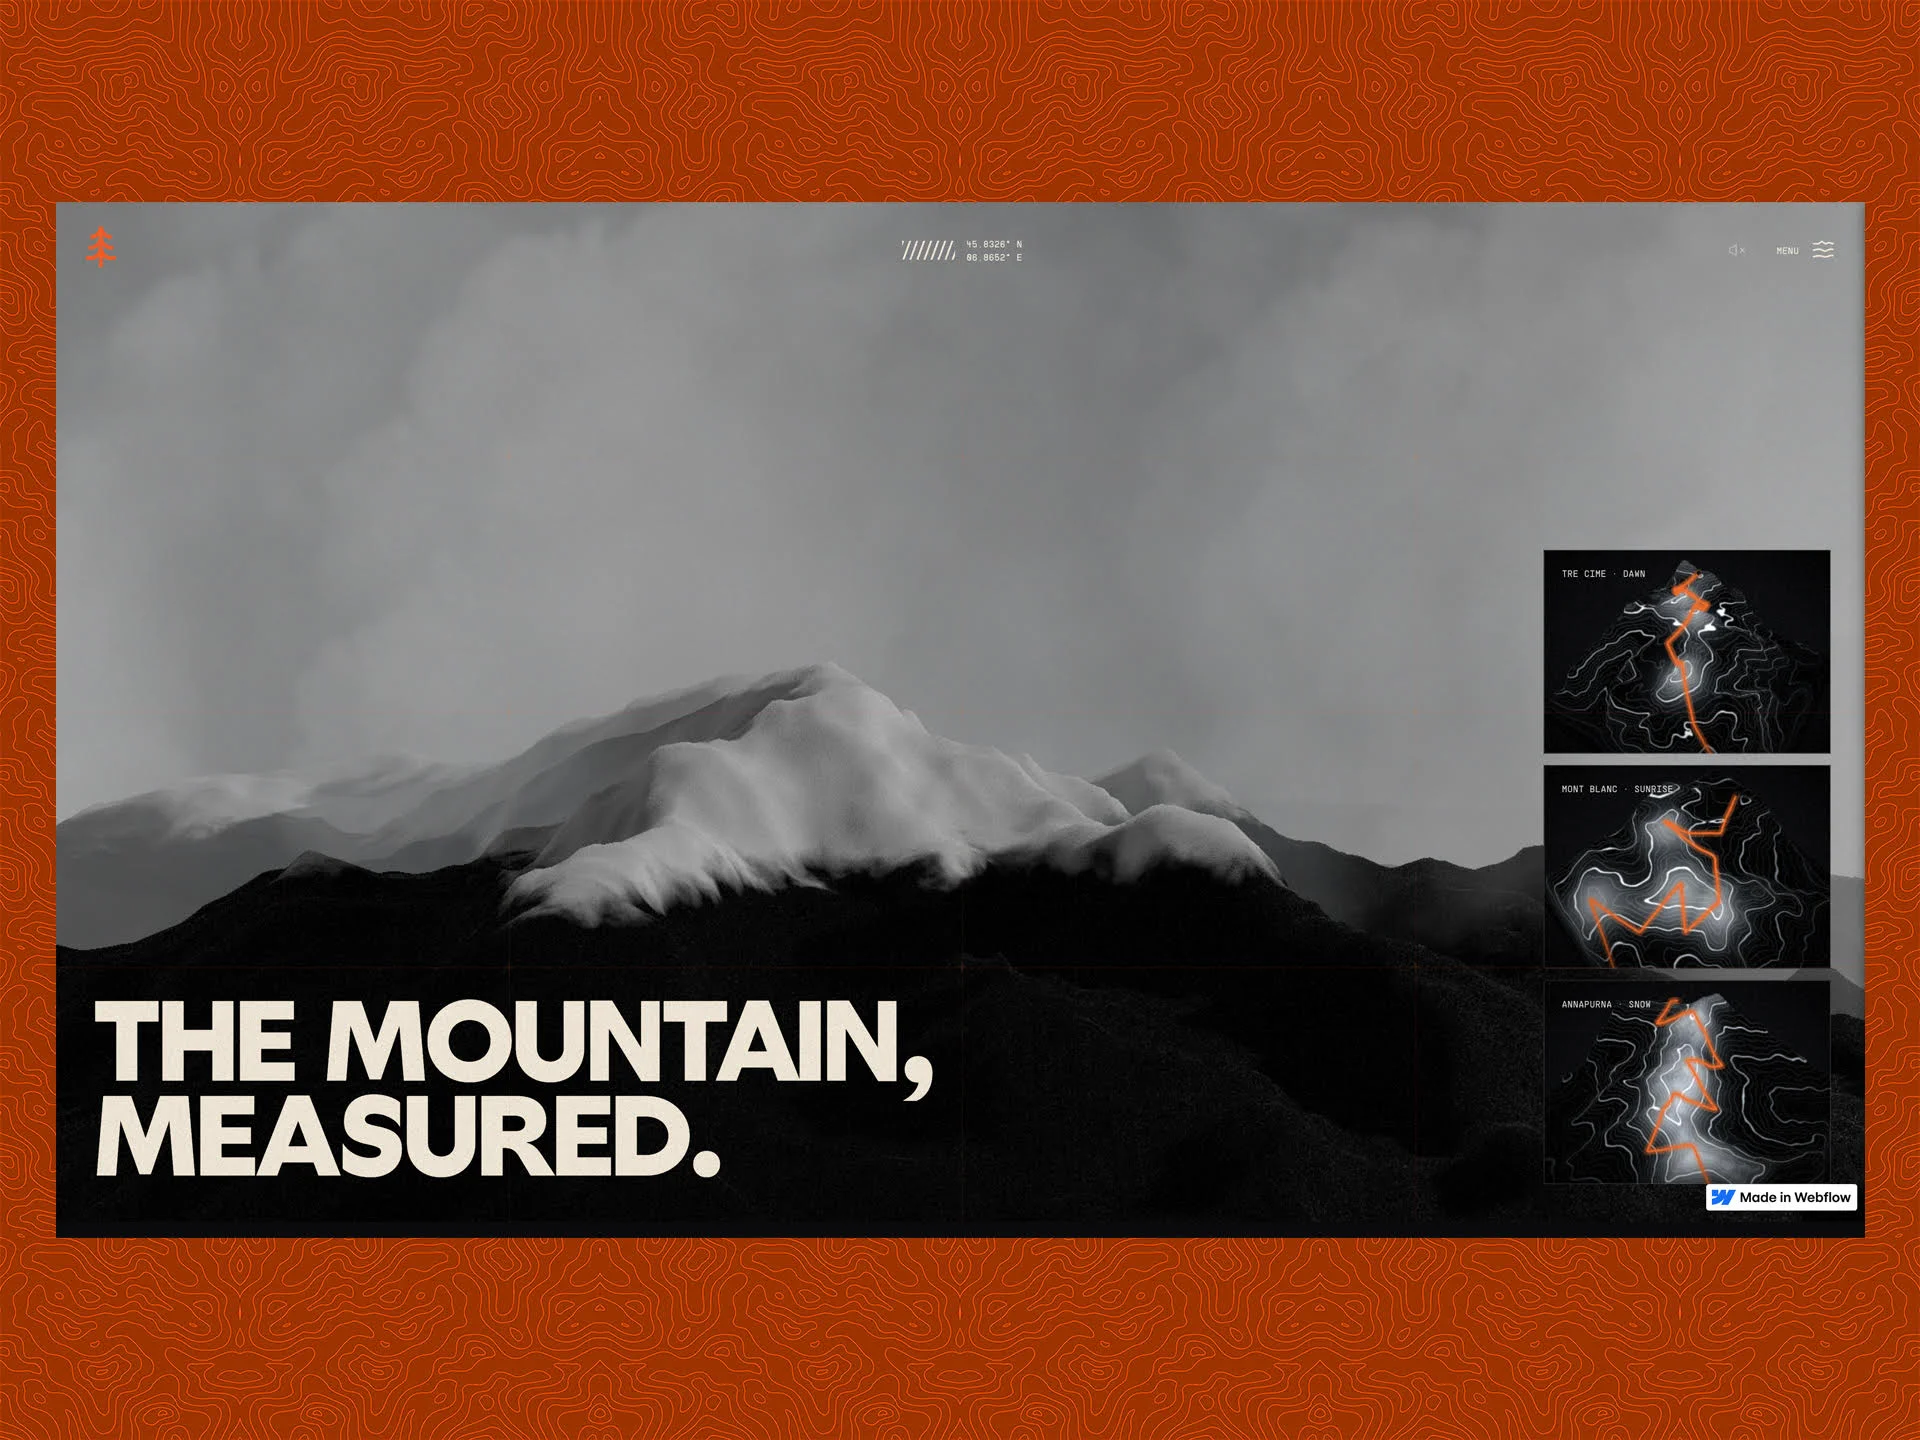
Ridgeline serves as a hiking and photography platform, offering a visually stunning journey across three authentic alpine trails. This project is deeply personal for me; it reflects my vision for how web experiences can be crafted. It was born from a fundamental inquiry: Can Webflow enable the display of true 3D terrain using real elevation data—a live, navigable model rendered with Three.js—rather than relying on pre-recorded videos or pre-rendered graphics, while preserving Webflow's user-friendly editing capabilities?
I established one guiding principle from the outset: All elements must be visible, whether part of Webflow or external scripts. This tenet significantly directed the architectural framework of the project. I initially evaluated two distinct methods for integrating real-time 3D into Webflow before ultimately settling on one, a choice that underscores the intricate balance of advantages and compromises.
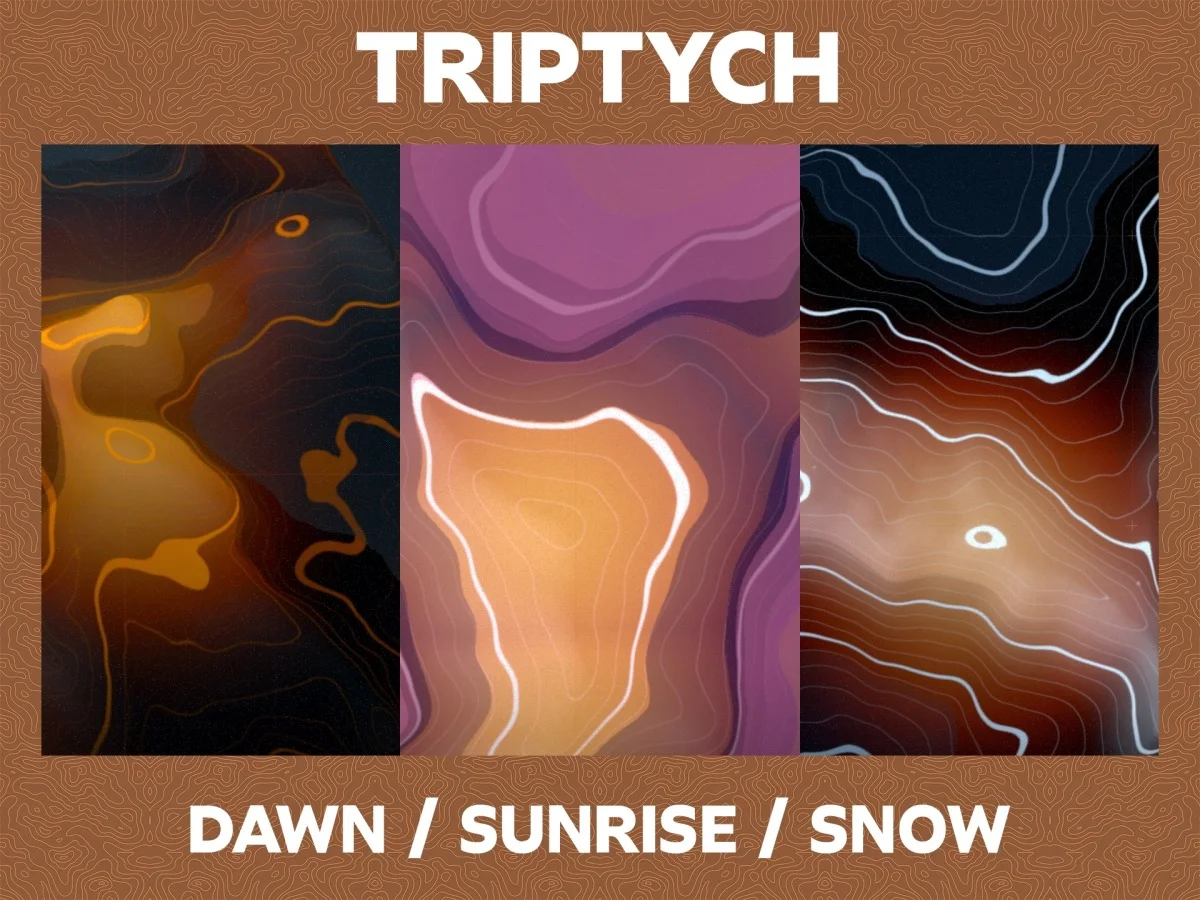
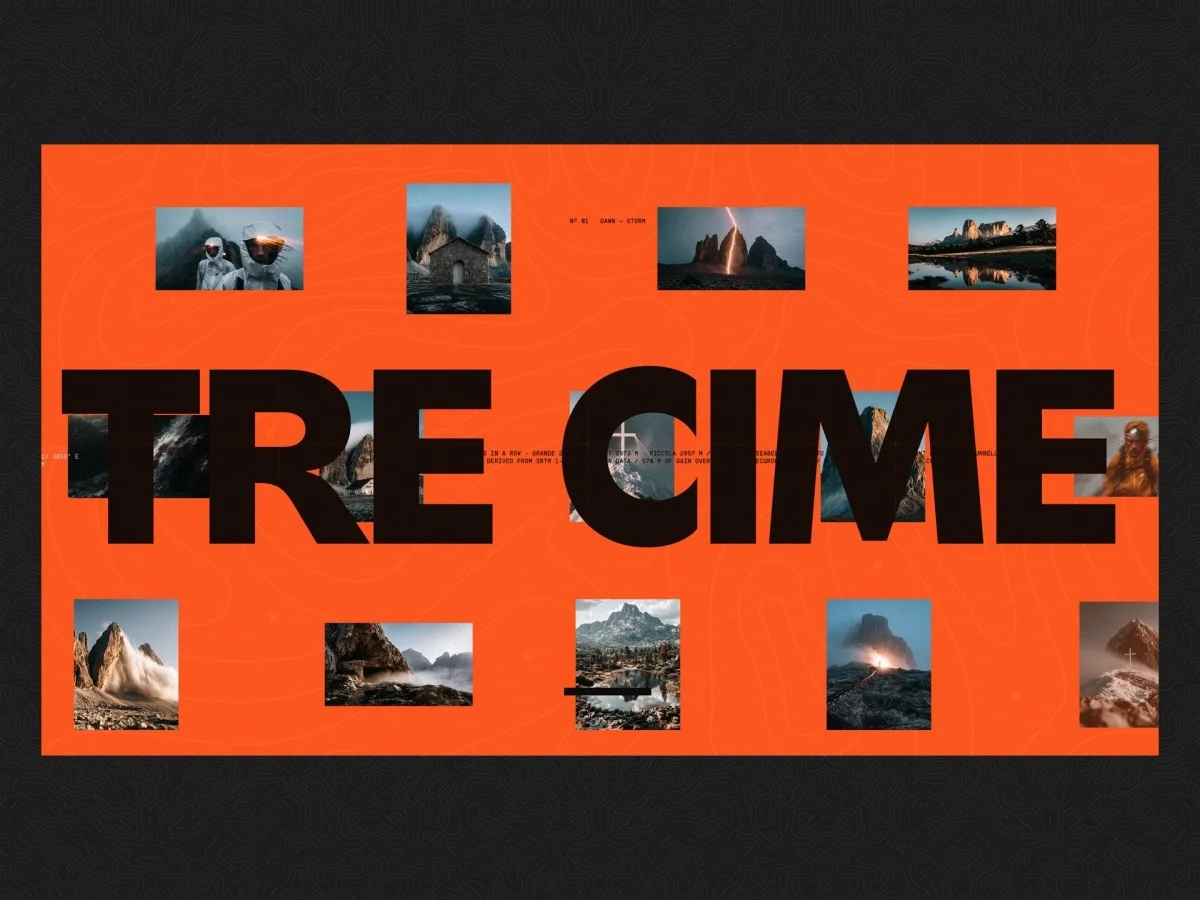
The website showcases three distinct environmental conditions, each corresponding to a specific hike mapped onto its own geographical terrain: Dawn (Tre Cime in a storm), Sunrise (Mont Blanc during the blue hour transitioning to pink), and Snow (Annapurna at night with falling snow). These scenes are interwoven with scroll-activated photography and ambient soundscapes, all linked through a homepage that allows users to glide through the terrain with clickable previews of each scene. Remarkably, every visual element is based on real geometry, maintained and edited entirely within the framework of a Webflow project.
For the Dawn trek, I hiked above Cortina at Tre Cime, logged my journey via Strava, and exported it as a GPS track (GPX). After filtering the usual GPS anomalies, I accurately overlaid the hike onto genuine elevation data from SRTM. It’s important to note that only a simplified, coordinate-free version of the track is embedded, ensuring that while the terrain is recognizable, the specific path remains untraceable. The other two treks utilize plausible, generated routes since I lacked documented paths for them.
One highlighting aspect from the beginning is that I executed the entire site’s coding with Claude (using Opus 4.8 and Fable 5), integrating closely with Webflow's MCP, completing the project in approximately a week.
I documented every step of this process—from the decisions made to lessons learned, including missteps. This article draws directly from that log, presenting an authentic view of the complexities involved in such an endeavor.
The Rendering Setup
- Three.js, React Three Fiber, and drei for creating the 3D environments.
- GSAP (ScrollTrigger) and Lenis to handle scroll dynamics and animations.
- Blender for crafting each mesh, modeled or baked, exporting it into glTF format.
- Cloudflare R2 serves as the host for the JavaScript bundle and asset materials (acting as a CDN with cache-busting capabilities).
- Webflow functions as the platform for structuring, styling, and content management, providing an editable interface.
- Webflow MCP (version 1.3 at the time of writing) operates as the project build layer, powered by Claude, encompassing pages, components, classes, variables, and custom code.
- Strava provided the real-time data for the Dawn trek, which was imported as a GPX track and mapped onto the terrain.
Integration Choices: A Custom Path
Webflow offers a native mechanism for code integration through a Code Component accessible as a feature in the Designer. This works perfectly for standard UI components. However, my project presented different challenges: a singular, sizeable WebGL bundle requiring its own build step and extensive asset management with Three.js. Given these complexities, I ultimately opted for a self-hosted JavaScript embed, and it’s worth highlighting why this decision proved fruitful:
- Self-sufficient architecture. All dependencies—including Three.js, the bundler, and asset files—are consolidated in one controllable location.
- Rapid iterations. You can publish updates swiftly; simply deploy the bundle and refresh the browser for changes to take effect without re-publishing.
- Versatility. The same self-hosted embed can be utilized across different sites or content management systems, making it distinctly advantageous for specialized bundles like this one.
However, opting for an embed comes with its own compromises since it’s not a straightforward drag-and-drop element in the Designer. To tackle this issue, I leveraged attribute-driven mounting; essentially, the embed identifies specific host elements (like [data-terrain-scene] or [data-terrain-card]) designated by the designer, and embeds itself accordingly. This maintains a clean separation: the Designer manages layout, while the code dictates behavior.
// The embed identifies and mounts into designer-placed elements.

// The Webflow user controls the layout, while the embedded 3D fills designated spaces.

document.querySelectorAll("[data-terrain-card]").forEach((host) => {
  const key = host.getAttribute("data-terrain-card"); // "dawn" | "sunrise" | "snow"
  mountScenePreview(host, key);
});
Key Insights
- Align your integration approach with the component’s nature. Ensure a proper fit for your use case before finalizing the method.
- A self-hosted embed sacrifices some convenience offered by Designer for a more cohesive build and instantaneous updates.
- Attribute-driven mounting is crucial for maintaining a clean divide: Webflow governs layout, while code defines interaction.
The Code Behind Webflow: Utilizing MCP Workflows
One of the most unexpected aspects of this project was discovering that the entire site—including pages, components, classes, CSS, variables, custom code, SEO settings, and publishing tasks—is constructed and managed via an agent utilizing the Webflow MCP (Model Context Protocol) server. In this capacity, the agent, namely Claude, facilitates generating a fully functional Webflow project, one that remains accessible for manual editing.
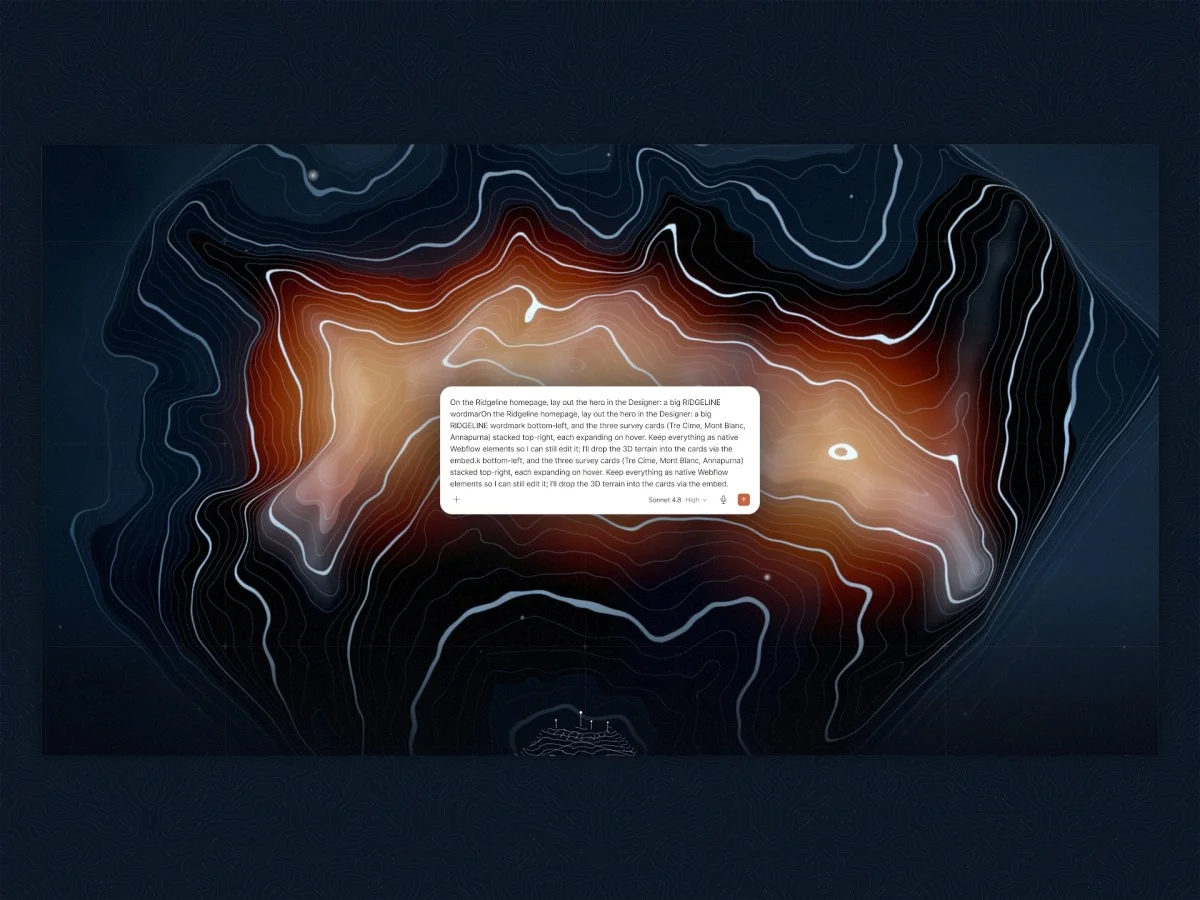
A guiding principle was established:
Components for markup and styling reside within the Webflow Designer, while JavaScript governs behavior, 3D scenes, and animations through a version-controlled repository on R2. The Designer defines the structure, whereas the CDN handles functionality.
It’s imperative to understand that Webflow allows for two distinct areas designated for custom code, each serving different purposes. Registered scripts (under the Scripts API for JavaScript) and custom head/footer code (raw HTML/CSS) should both be utilized strategically; anything needed at the first paint must be included in the latter category, which I’ll clarify further on.
Key Insights
- An agent can effectively direct a comprehensive Webflow build via MCP while still presenting a fully editable project.
- Maintaining a clear distinction between structural elements (in Webflow) and behavior (in code) is crucial for ongoing maintainability.
Creating Genuine 3D: From Blender to glTF to Three.js
A pivotal requirement for me was to ensure that the geometry was authentic—this wasn’t about simple shader tricks on basic shapes. Every terrain utilized a genuine DEM, sourced from an SRTM elevation dataset for real mountain ranges, built in Blender, exported in glTF format, and visualized through Three.js. If we’re discussing a “crystal monolith,” the conversation starts with Blender, not JSX.
The workflow is as follows:
- Model or bake assets in Blender. I frequently use a parametric
build.pyfor mathematically defined shapes and resort to interactive modeling for artistic elements. In either case, a usable.blendfile remains available for future modifications. - When exporting to glTF, remember these essential flags:
bpy.ops.export_scene.gltf(
    export_yup=True,        # Sets Blender Z-up to three.js Y-up
    export_apply=True,      # Apply any active modifiers
    export_extras=True,     # Carry object custom properties into glTF for three.js userData
    // Always utilize Draco compression for efficiency—static meshes can compress significantly (11 MB down to ~1 MB)
    export_draco_mesh_compression_enable=True,
    export_draco_mesh_compression_level=6,
    export_draco_position_quantization=14,
)- Load the model using
useGLTF, traverse to locate named objects, apply materials as needed, and capture specific instance states during load to avoid runtime geometry recalculation.
Utilizing Blender's MCP, akin to the setup used for Webflow, permitted me to make model adjustments directly in Blender without looping back through the UI, streamlining the workflow considerably.
Each of the terrain GLB files is compact, ranging around 540-580 KB after applying Draco compression—small enough to ensure that downloads never lag. The bottlenecks present within the project may arise from GPU limitations or main-thread congestion, which are themes we will explore further throughout this article.
Crafting a Survey Map Aesthetic: One Shader Technique
Interestingly, the contour-map style is achieved through a fragment shader that analyzes the mesh’s height in world space, not through textures. The magic of maintaining sharp lines at any camera distance relies on the fwidth() function. This function derives the anti-aliasing width in screen space according to the mesh's band index change, ensuring lines appear uniform whether zoomed in or out.
// Shader logic for survey-contour terrain: bands determined by elevation, hillshade, and snow levels.
float scaled = vWorldPos.y * uContourFreq;           // Convert height to band index
float dMinor = abs(fract(scaled) - 0.5) * 2.0;
float aa     = fwidth(scaled) * 2.0;                   // Determine screen-space AA width, keeping it crisp at any zoom level
float minor  = 1.0 - smoothstep(uContourWidth - aa, uContourWidth + aa, dMinor);

// Every Nth line is a more pronounced index contour, typical of survey maps.
float dMajor = abs(fract(scaled / uMajorEvery) - 0.5) * 2.0;
float major  = 1.0 - smoothstep(uContourWidth * uMajorBoost - aa, uContourWidth * uMajorBoost + aa, dMajor);
float line   = max(minor * uMinorDim, major);

// Apply hillshade effect from surface normals, modify elevation tint, and introduce snow above the line.
float shade  = clamp(dot(normalize(vWorldNormal), normalize(uLightDir)), 0.0, 1.0);
float elev   = clamp((vWorldPos.y - uElevLo) / (uElevHi - uElevLo), 0.0, 1.0);
vec3  ground = mix(uGround, uGroundHi, elev);
ground = mix(ground, mix(uGround * 0.5, ground * 0.92, shade), uHillshade);
ground = mix(ground, uSnowColor, smoothstep(uSnowLineY, uSnowLineY + uSnowSoftness, vWorldPos.y) * uSnowStrength);

vec3 contourCol = mix(uContourLo, uContourHi, elev);
gl_FragColor = vec4(mix(ground, contourCol, line), 1.0);
Each scene utilizes the same shader logic but applies different uniform settings (varying colors for ground and contours, snow intensity, and light direction), allowing Dawn, Sunrise, and Snow to convey distinct environments while operating under a unified program. One clever detail to enhance visual quality is a subtle per-pixel dither effect ((hash(gl_FragCoord.xy) – 0.5) * 0.0045), which mitigates 8-bit banding often seen as grainy patches in the darker gradients found in the Dawn scenes.
Key Insights
- Using authentic geometry carries a different visual weight compared to approximating it with simpler primitives—it's worth the extra effort in your asset pipeline.
- Always include the
export_yup,export_apply,export_extras, and enable Draco for optimal exports. - The
fwidth()function is indispensable for achieving resolution-independent line widths, a key technique for creating clear procedural contours at various zoom levels. - A single shader paired with contextual uniforms is typically more efficient than maintaining multiple shaders, while a simple dithering process can effectively reduce discernible banding artifacts.
Animating with Precision: Scroll without Overhead
All animations hinge on scroll interactions, with a primary directive: avoid React re-renders during scrolling events. To achieve this, I store scroll progress in a ref, which is then accessed via the render loop.
- Lenis powers smooth scrolling and supplies data to ScrollTrigger for animations.
- GSAP ScrollTrigger governs pinning and scrubbing effects.
- Scroll progress is saved in a
refand accessed every frame throughuseFrame. No reliance on React state for scrolling tasks.
// Setup Lenis and GSAP once; Lenis feeds the scroll updates to ScrollTrigger.

lenis.on("scroll", ScrollTrigger.update);
gsap.ticker.add((time) => lenis.raf(time * 1000));
gsap.ticker.lagSmoothing(0);
Two core patterns facilitate the scrolling animations quite effectively.
The first is a frame-collapse technique wherein a full-screen image minimizes down to a compact 4:5 frame, with adjacent image columns transitioning in. However, a significant problem arose: manipulating width and height during the transition altered the aspect ratio dynamically, causing object-fit to re-adjust each frame, which resulted in visible jumps. The remedy here involved constraining the element to a fixed 4:5 ratio, setting its dimensions once to match the viewport, and animating exclusively through transform: scale. This consistency allowed the browser to settle on the crop only once, eliminating any re-cropping issues during per-frame animations.
// Maintain a consistent scale without altering width/height to avoid layout thrashing.

const coverWidth = Math.max(viewportWidth, viewportHeight * 0.8);
const scale = ip(ip(1.14, 1, parallax), plateWidth / coverWidth, collapse);
gsap.set(hero, { xPercent: -50, yPercent: -50, scale });
Next came a CSS drift animation featuring keyframes starting from an offset state (scale(1.04) translate(...)). Yet, once the animation engaged, the element would snap to that starting offset, creating yet another unexpected “jump” in the animation. This issue persisted despite attempts to rectify the initial collapse calculations. The lesson? Any animation that triggers amid scrolling should originate from the element's neutral state (identity) to avoid these visual discrepancies.
Key Insights
- Prevent any React re-renders when scrolling. Instead, utilize a ref for progress and access it within the frame loop.
- Animating an element's
widthandheightcausesobject-fitre-computations every frame. Instead, animate using transforms—this process is more performant and doesn't engage the layout engine. - Any keyframe animation that doesn’t begin at the resting state will produce a jarring jump when it is activated, which may be hidden in the code logic itself.
Dealing with the Finer Details: Preloaders, Initial Paint, and Audio Engagement
The 3D elements were, surprisingly, the less challenging aspect of this project. The real hurdles lie in managing transitional moments—those brief instances between states—that presented the most obstacles.
Consider the issue with the first-paint flash. Upon hard reloads, users would notice a brief moment featuring a plain background before the darker preloader materialized. This timing problem arose because the site's JavaScript is loaded via a loader, which activates after the browser has already rendered the initial HTML. This means JavaScript isn’t able to mitigate its own pre-loading flash. To address this, the cover must exist within the head's custom code and load synchronously before other elements:
<!-- Place in Webflow head custom code. Executes immediately, prior to JS load. -->
<style>html,body{background:#0a0a09}</style>
<style id="topo-fp-guard">
  html,body{background:#0a0a0c!important}
  body>*{visibility:hidden!important}   /* Prevents visibility of content until fully functional. */
</style>
<!-- Failsafe mechanism: if JS fails to load, avoid leaving a blank page. -->
<script>setTimeout(function(){var g=document.getElementById("topo-fp-guard");if(g)g.remove();},8000);</script>
This JavaScript then removes #topo-fp-guard in init() while displaying the actual preloader during the same tick, eliminating any flash between states. The method is rather draconian, which is why the failsafe timeout exists to prevent a JS failure from rendering the page totally blank.
Next, there's the audio gate, as browsers typically block any autoplaying of sound without user interaction. Hence, the preloader concludes only after a user initiates it by pressing Enter or making an “enter-muted” selection, simultaneously unlocking the ambient audio layer. Failing to hold off on this autoplaying will invariably result in console error notifications.
Sound Design: Ambient Layers Tailored to Each Scene
Once the audio gate is disengaged, each scene features its respective ambient sound, creating an atmospheric backdrop rather than dictating the experience with a conventional soundtrack.